Welcome to Mundo Novo
Let’s make the installation and machine usage as smooth as possible from the get go.
Installation
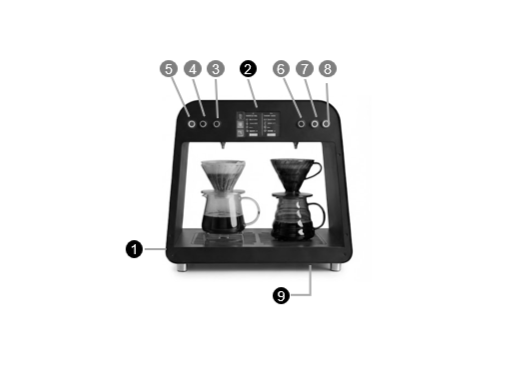
Machine Components
1) On / Off Switch
2) Touch Screen Display
3,4 and 5) Left Side’s Operation
6, 7 and 8) Right Side’s Operations
9) Power Cord and Water Connection
Water Line Connection
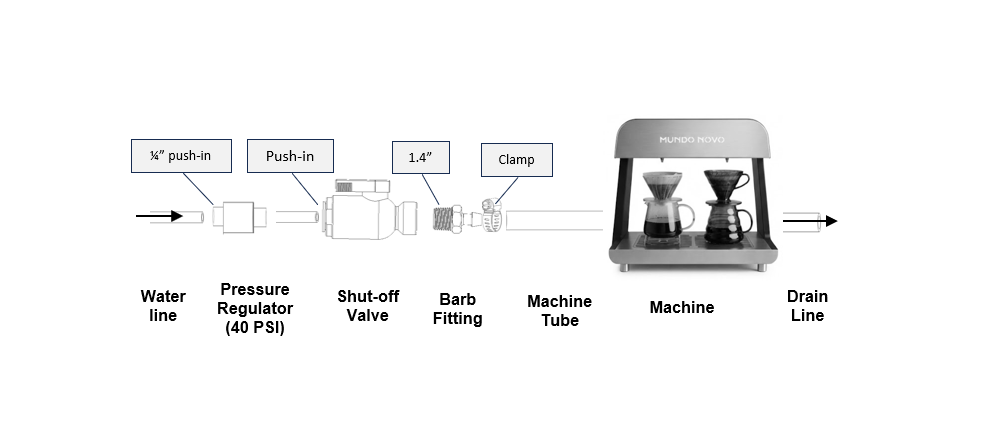
The machine must be connected directly to a water line using 1/4" push-to-connect tubing.
Connect the machine to the water supply using the provided Pressure Regulator, Shut-Off Valve, and Flow-Reducing Orifice. These components are required for proper operation.
Flushing
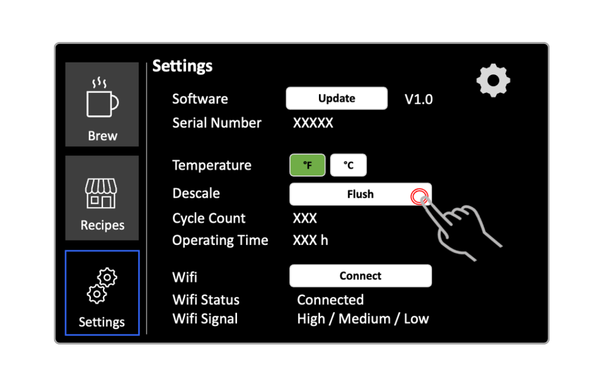
Flush the machine until all air has been removed from the tubing and water flows continuously.
To flush, go to ‘Settings’ → Click and hold ‘Flush System’
Calibrate
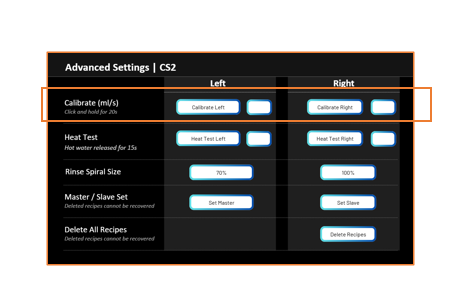
From the Settings page, go to ‘Advanced Settings’
Calibration: Press and hold Calibrate Left and Calibrate Right, for 20 seconds
CAUTION: This process dispenses water. Place a suitable container under the nozzle before starting
Recipe Customization
Recipe Lists
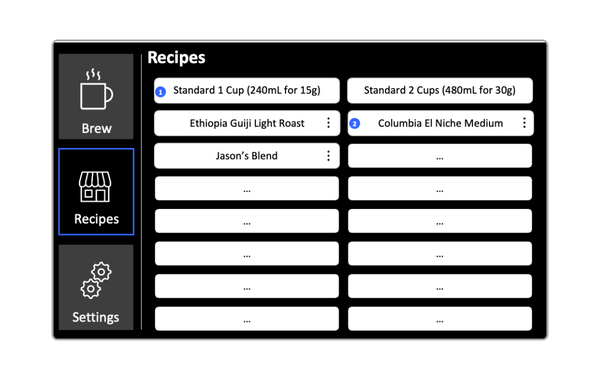
To create your first recipe, go to the Recipes page, select an empty recipe slot (…), and choose View and Edit Recipe.
You can create up to 14 recipes on the system, in addition to the two built in recipes.
Recipe Parameters
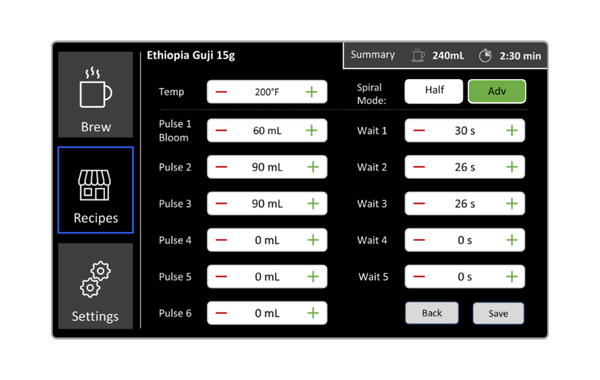
User sets target temperature, volume for each pulse, and the wait time between each pulse.
Select Half Spiral for narrow or conical drippers, and Full Spiral for larger or flat-bottom drippers, or when brewing larger doses of coffee.
Advanced Recipe Mode is available on Pro models only.
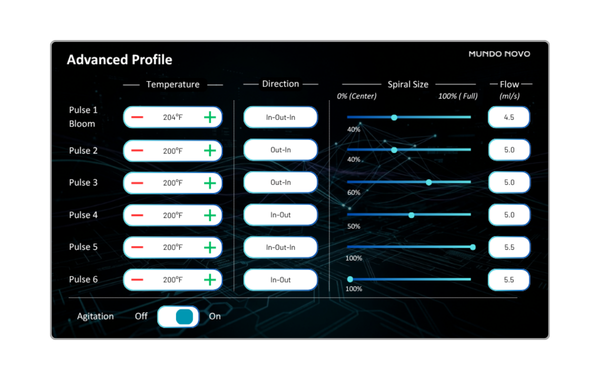
Advanced Recipe (Pro Model)
Control the temperature, spiral direction, spiral size, and flow rate for each pulse.
Agitation Mode releases 10 mL of water rapidly while moving the nozzle quickly at the end of the recipe.
Activating Recipes to Physical Buttons
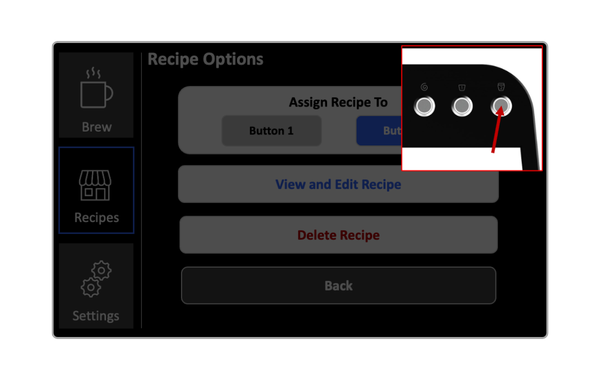
To brew a recipe using the physical buttons, assign it to Brew Button 1 or 2 for the left side, or 3 and 4 for the right side.
On Pro models, press and hold any recipe in the recipe list to start brewing immediately without assigning it to a physical button.